When I was redecorating my apartment I had a very hard deadline to finish things up since my place was being photographed for Better Homes & Gardens. One of the final pieces I was on the hunt for was a pair of chic gilded iron etageres. Rather than a brass finish, I preferred the look of gilded iron because I love the contrast, texture and patina of a lightly applied, shimmering gold finish with hints of black, aged iron peeking through. I wanted my etageres to be between 6-7 feet tall, at least 40″ wide and with a very slim profile which is quite specific. I searched everywhere, high and low, from ebay and craigslist to 1stdibs and I just couldn’t find what I was looking for so I decided the next best thing was to get the look with a little DIY magic!
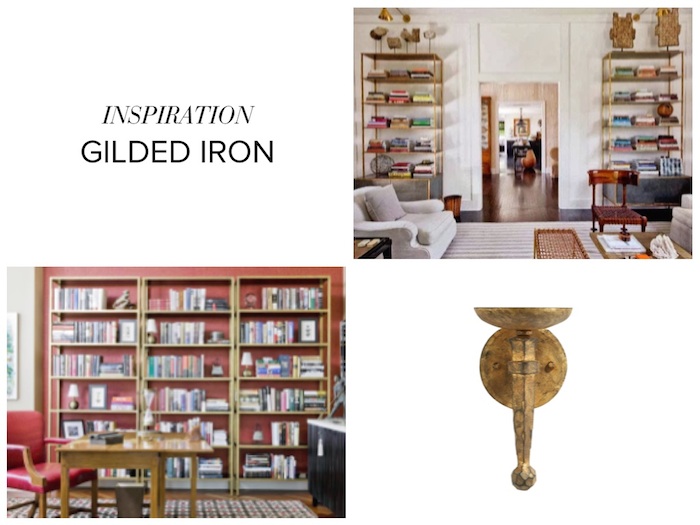
Here’s a close up look of what a gilded iron finish looks like along with a couple of inspiration images. I bought 2 of these slim shelves from Room & Board in natural black steel as my foundation. While they weren’t the cheapest options, they had the right proportions, plus, Room & Board has an easy and inexpensive flat rate delivery service and since I live in NYC where moving anything larger than a bag of groceries requires a herculean effort, this was the best option for me because I didn’t have to worry about how I was going to get them home and up to my walkup apartment but this affordable find from Ikea is another great option…
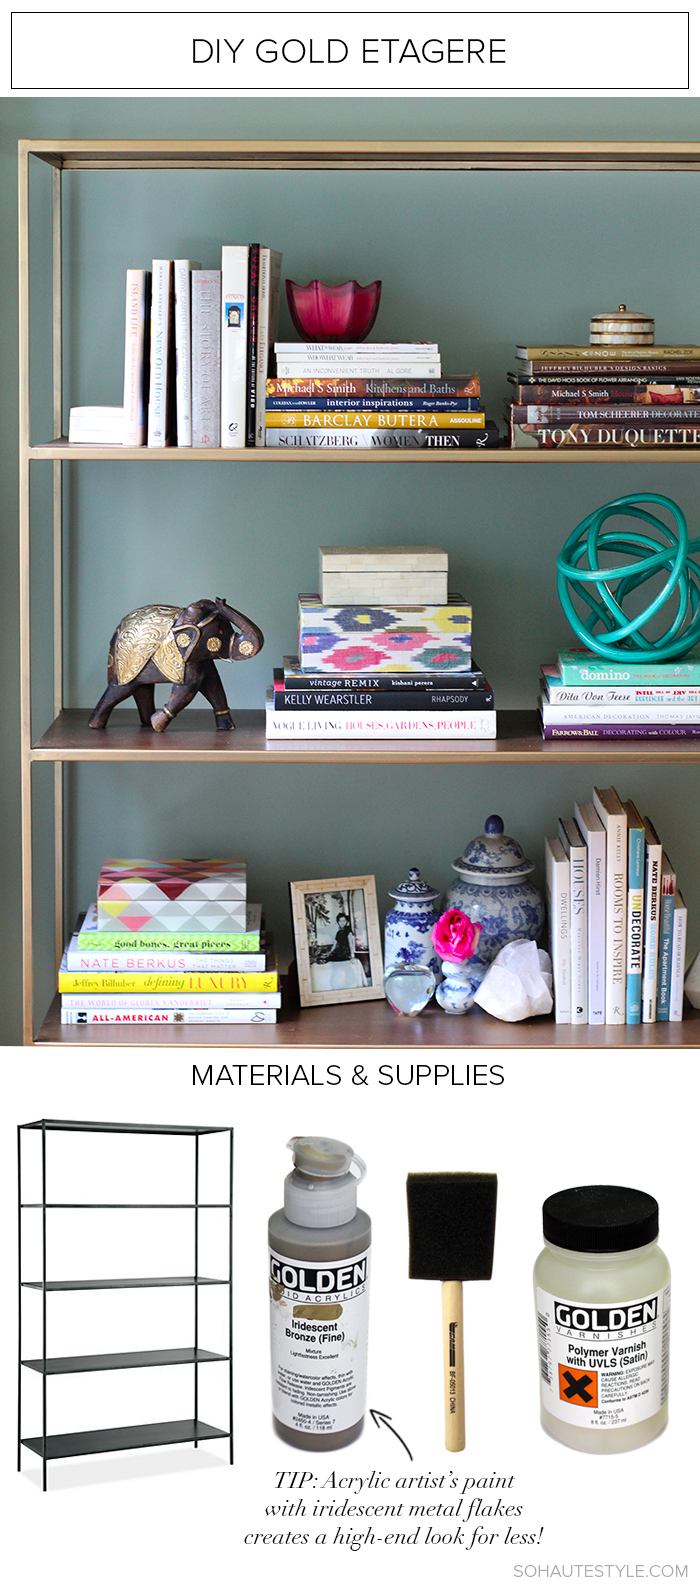
The key to achieving the gilded iron look is choosing the right paint. Metallic spray paint or gold leafing materials are typically used for this kind of project but here’s why I did not choose those options this time: I’ve done a similar DIY with metallic gold spray paint in the past (see my Ikea hack from an episode of Home Made Simple on OWN at the bottom of this post) and often times metallic spray paints can look plastic-y on a metal finish. I also live in an apartment without outdoor space or a well ventilated area so spray fumes also just weren’t an option. And gold leaf or liquid leaf options tend to be a bit too shimmery for my liking. Kind of like an eyeshadow that has too much sparkle. I didn’t want my bookcases to feel like the 17-year-old who did her own bad makeup for the prom! I wanted the finish to look high end and sophisticated so after much research I landed on using acrylic artists paint. I chose Golden’s Acrylic paint in iridescent bronze which is a heavy bodied acrylic that has pearlescent particles mixed into the color which gives their metallic colors the rich shimmer of a true metallic finish. Using this paint made all the difference! Read below for the materials and steps along with more pictures of my finished bookcases in my home! And if you’ve done a similar DIY I’d love to hear about what paints have worked well for you in the comments!
Materials:
– Iron or Blackened Steel Bookcase
– Dropcloth
– Foam Paintbrushes
– Golden Iridescent Acrylic Paint in your finish of choice (I used bronze)
– Golden Acrylic Polymer Varnish in Satin Finish
– Cups or paint trays for your paint
Steps:
1. Place your dropcloth down for protection and wipe down your bookcases with a damp cloth to remove any dust or debris. Wait for any wet areas to dry.
2. Using a foam brush apply your paint in even strokes in very thin layers and gradually build your coverage until you achieve your desired level of opacity. Be careful not to spread it on too heavy at first! Also note – I tried using a typical paint brush with bristles but you could really see the brush strokes and I also tried a foam roller which gave me a bit too much coverage. I found that the foam brushes were the best option for achieving the layered effect.
3. Let your paint dry overnight, then apply a polymer varnish to protect your finish. Let that dry overnight as well before placing anything on the bookshelves. Note: The varnishes come in different levels of gloss. I chose a satin varnish but there are fully matte, semigloss and higher gloss finishes available depending on the look you want to achieve.
4. Style up your shelves with fabulous books and decorative items! (Lookout for a bookshelf styling tutorial coming soon!)
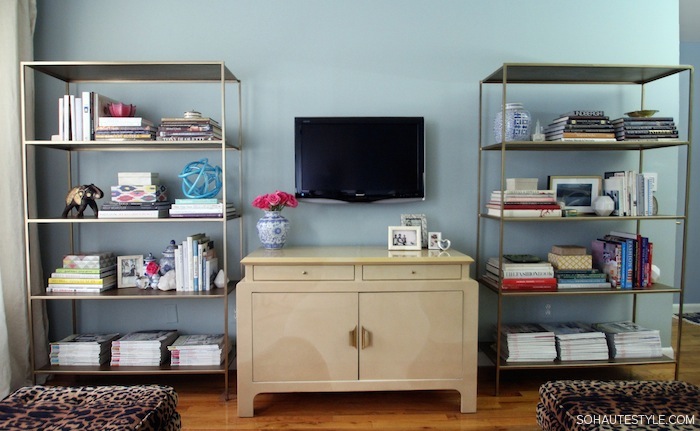
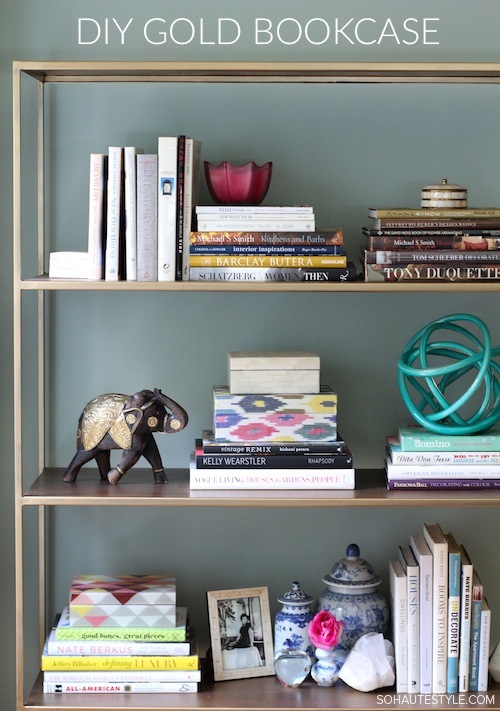
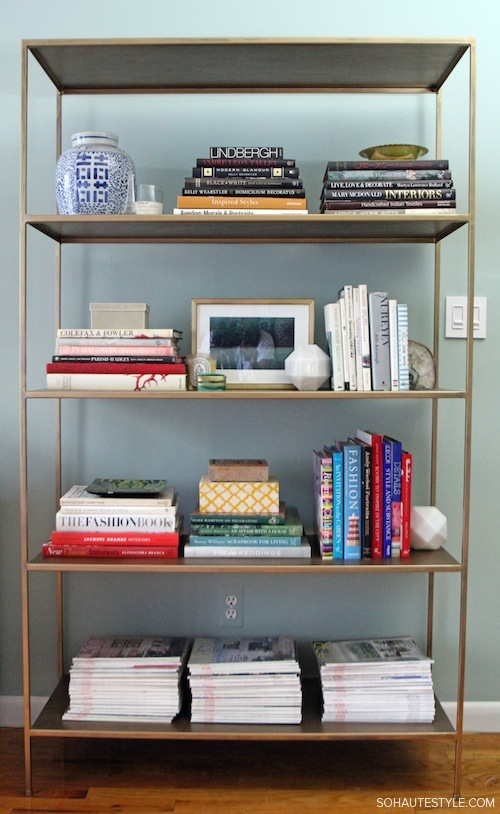
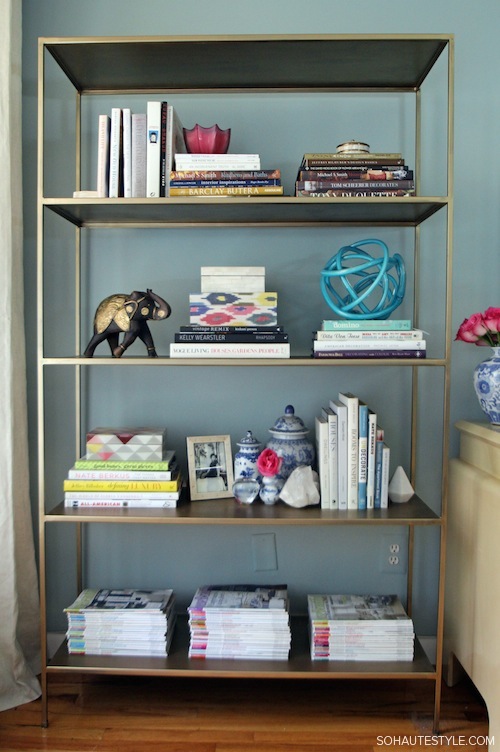
Here are a few more pictures of the end result:




14 Comments
you just gave me a weekend project! i hope the paint doesn’t chip off – are you worried about that? do you think i should strip the black first or just paint right over?
Not worried about chipping at all! I think spray paint is much more likely to print. And my bookcases were natural blackened steel so it can’t be stripped off. If you get the same shelves paint right over it. To see a bit of the black peeking through adds more texture. Good luck!
Love the etageres, thanks for the painting tips, they look beautiful!
These turned out great! Sometimes the simplest pieces are the hardest to find. I love etageres and think that they’re perfect for any space. A few years ago my mom and I were looking for a slim bookcase to put on a wall behind my desk and amazingly we found a pair of Art Deco style bookcases with wooden x’s down the sides. They were slim and just the right height. One went behind my desk and the other went in our kitchen and we used the shelves to hold our collection of white dishes. To this day, they’re one of our best finds ever.
All the best,
Cait
http://theladiesmccann.com/
Perfect timing for this post! I have a metal chandelier that is bronze color and I want to update it to gold tones. So glad to have found the right paint to use! Love your site!
Elaine
http://www.OMGlifestyle.com
These turned out beautifully! Great timing on your post – I’m also painting my etagere. Questions for you — the Golden Iridescent Acrylic Paint and Golden Acrylic Polymer Varnish — was 1 can of each enough for both etageres? Thanks!
Molly
Hi Molly! I used 2 of the 4oz bottles of paint less than one jar of the varnish. I just did a single coat of the varnish in a very thin layer whereas I had to really layer the gold to get the look I wanted which required more material. Hope this helps!
Nicole
I love this project! It’s so simple, and it seems like it would really jazz up a room.
If want a streak free look try mixing tint able glaze effects with your acrylic paint this will give you a smoth application and also will extend your paint
Hi Nicole,
Love your site! I want to do this to my IKEA glass top coffee table. Is this paint durable? Will the paint rub off easily when I clean the glass top with glass cleaner?
Where is the blue coiled art sculpture from? Do you mind sharing?
Can you share where you got the metal bookcase from?
Its from Room & Board
Pingback: Perfect Gold Bookshelves Designs | Interior Decoration